Let’s Make an Egg Shaker!
By Alyssa Cowell, Catoctin School of Music
My favorite egg shaker cracked recently, boo! Instead of hopping on Amazon or running to a local music store, I thought it might be fun to try using some modern technology to see if I could make my own! Let’s get started:
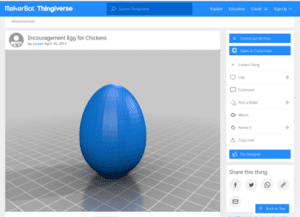
I have a laser cutter and a stash of thin stock hardwood scraps – a promising start. Now I just need a design. I considered spending a bunch of time using graphic design software to come up with something from scratch, but ultimately decided that I could save some design time by looking for a premade 3D printing file – there are tons available on the internet. The file I settled on was this one from Thingiverse.com.

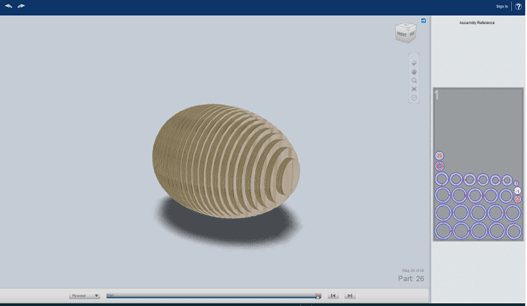
Now that I have a nice, basic egg-shaped file designed for 3d printing, I need to reformat it to work with my laser cutter. Enter Slicer Software! Slicer software allows the user to take a 3D file and convert it into a series of layers that stack. When those layers are imported to my laser cutter’s interface, we should be ready to cut out the parts for our egg shaker. To slice up the 3d file, I used a software called SlicerforFusion360. Here’s a preview of what the file will look like once I’ve adjusted it for cutting:
On the right sidebar you can see all the different pieces that I’ll need to cut out and stack to create the egg shape. The software numbers each of the pieces to make them easy to keep track of during the assembly process. Now all we have to do is export the file and import it into the laser cutting interface.

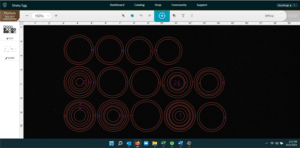
In order to reduce waste and make the most of my materials, I took a little time to nest some of my smaller pieces inside the bigger ones – here’s what my file looks like once it’s been imported into the laser cutting app and I’ve rearranged some of the parts:

I think it’s time to wrap up this post – we’ve made a lot of progress creating and editing the 3D file. Stay tuned for the next installment of building a shaker egg – next steps include choosing some beautiful hardwoods, cutting and assembling our series of rings, and doing some hands-on finish work. Hopefully we’ll finish up with a beautiful new percussion instrument.
